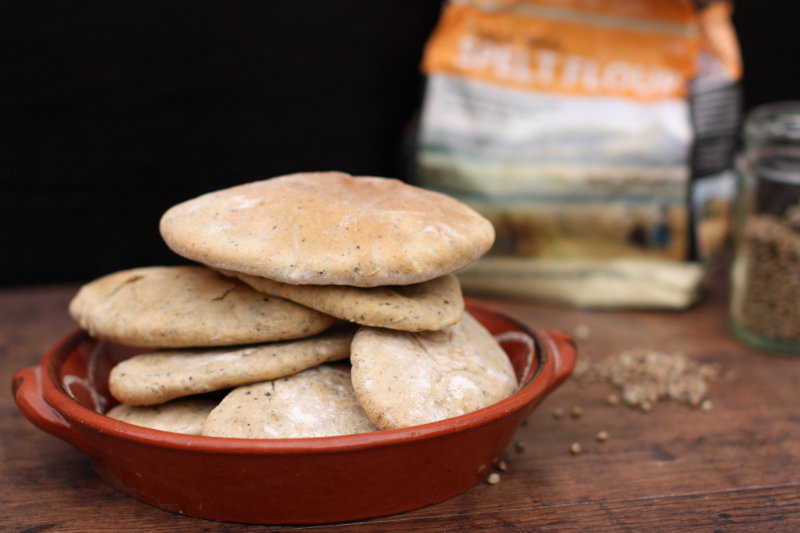

Spelt pita bread takes up a tiny space in my heart as one those all time favourite childhood foods. It’s the memory of our local Greek restaurant – sitting at a table full of the most delicious assortment of shared starters – a feast of tastes and textures – and all enjoyed with an endless supply of pillow soft warm pita bread. Ok, they weren’t made with spelt, but they were soooo delicious!
So this recipe is the result of my attempting to re-create a little bit of the pita magic at home, but with spelt flour and added hemp seeds. Amazingly pitas are pretty easy to make – the same initial process as bread, but after rolling the dough flat, you then just bake the pitas for around 3-4 minutes, watching them miraculously balloon in the oven (and by the way that’s half the fun!).
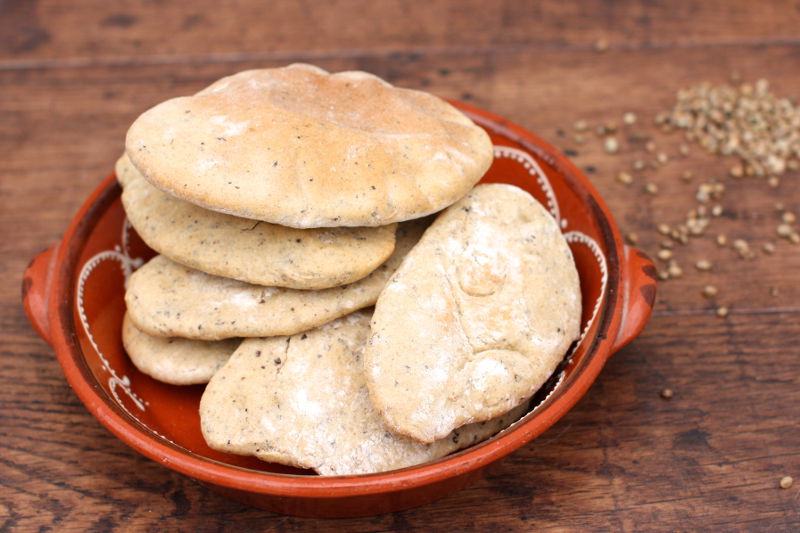
To eat them at their softest, they’re best served warm immediately, but you can also cool and eat them later. I like to make up a huge plate of assorted dips and salads, then just bake up the spelt pitas last minute and serve them straight from the oven.
Spelt Pita Bread with Hemp Seeds
Ingredients
- 250g | 2 ½ cups light spelt flour
- 1 heaped tablespoon hemp seeds
- 1 x 7g yeast sachet
- 150ml | 2/3 cup water
- 2 tablespoons olive oil
- 1 level teaspoon sea salt
Method
Makes 8-10 pitas
- Lightly toast the hemp seeds by placing in a dry frying pan and cooking over a low heat for a few minutes, shaking the pan regularly. Be careful not to burn the seeds – take off the heat as soon as they begin to smell slightly roasted.
- Grind the seeds with a pestle and mortar to form a fine crumb.
- Pour the ground hemp seed into a bowl, and mix together with the flour, yeast and salt.
- Add the oil, and gradually pour in the water, mixing until you have a ‘shaggy dough’.
- Scoop up the flour with your hands and knead on a floured surface for just a few minutes, or until you have a smooth dough.
- Place in a clean, oiled bowl, cover and leave until the dough has doubled in size (this normally takes around an hour, but can take longer).
- Pre-heat the oven to 240C / Gas Mark 9 and place an empty baking tray in the oven to heat.
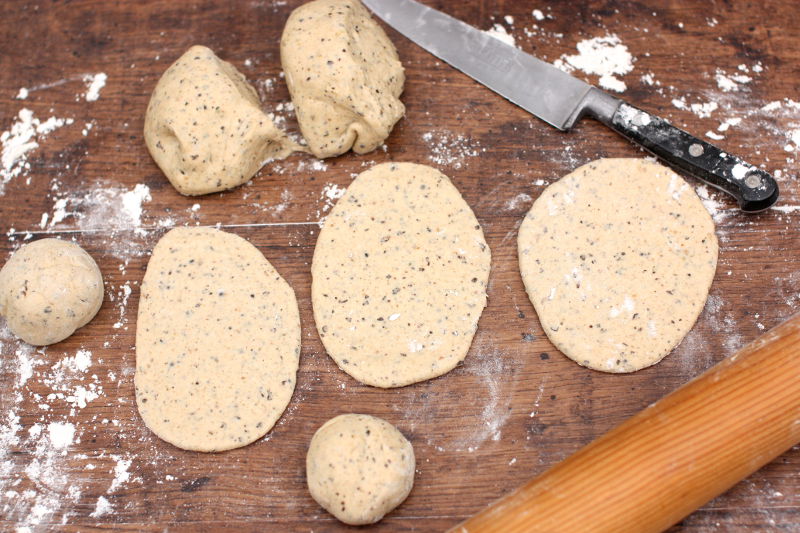
- Tip the swollen dough onto a floured surface and knock the air out by folding the dough over and kneading a couple of times.
- Cut the dough into 8-10 equal balls (or more or less depending on the size of pita you wish to make) and roll out to create 3-5mm thick ovals.
- Take the baking tray out of the oven, dust with flour and place the ovals on the tray – you’ll need to bake in two or three batches so while one batch is cooking, cover the ready dough ovals with a damp tea towel to stop them drying out.
- Bake for 3-4 minutes until the pitas balloon and are puffy, or they turn golden, whichever happens first. Ideally the pitas will puff up, but you may have some which don’t – no worries, they’ll still taste great!
- Wrap the baked pitas in a clean tea towel to keep them soft while you’re baking the remaining pitas.
- Best served immediately, but alternatively just keep the pitas wrapped until you’re ready to eat.